This is the third and final part of my guide for the Sony A6000. It covers general settings and functions like the Aspect Ratio, Codecs, ISO, Metering Modes, Exposure, White Balance, Creative Style etc.
Image size L (large): You select the size of the still images. Choose L (24MP's) for maximum quality and more options if later you want to edit your pictures.
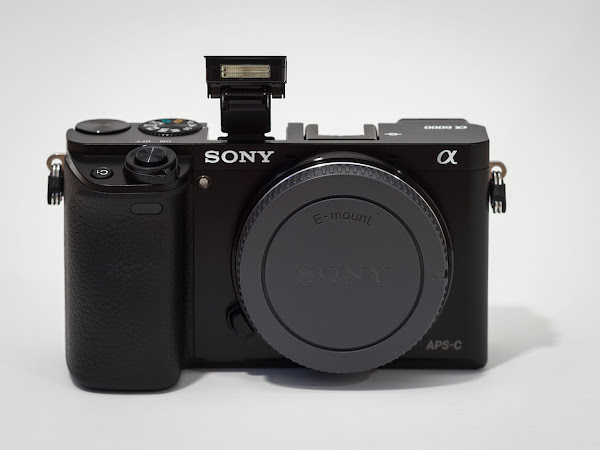
Sony A6000 - Flash extended
Aspect Ratio: Set this to 3:2 even if you prefer 16:9 (widescreen). The 3:2 options provides more total pixels. 16:2 will crop the image from the sensor. You can change the aspect ratio later during post processing.
Quality: I choose RAW and JPEG in most cases unless i want to shoot sports or fast moving subjects so i set this to fine (JPEG). RAW and JPEG requires the most space and standard the less.
File Format: This option is about the codec that you want to use to compress the video. Choose Sony's proprietary recording format, XAVC S. If you can not see XAVC S as an option then you need to update the firmware of your camera.
Record Setting: This option is about the size the quality of your videos and the frame rate. The bigger the size, the highest the quality. Choose 60p 50M if you live in North or South America or in Japan (NTSC region) or 50p 50M (PAL) if you live in Europe or everywhere else. To switch from PAL to NTSC you need to format your SD card though. Although i live in Europe i record videos during the day using NTSC for the higher frame rate. During the night i use NTSC, otherwise my videos get LED flickering.
Red eye Reduction: I set this to ON but it is a matter of preference.
ISO: For stills, i set the ISO to auto (100-3200). For videos: ISO Auto (100 - 6400).
Exposure Comp: -+ 0
Exposure Step: 0,3
Metering Mode: This option will set the way that your camera determines exposure. In 99% of times Multi is the right option. The camera will examine the whole frame to decide for the correct exposure. The other options are Center and Spot. If you choose Center the camera will examine only the center of the frame and will ignore all the rest. If you choose Spot, the camera examines only the area around your focus point to decide for the correct exposure.
TIP: Personally, i use Spot metering only when i am shooting flying planes during airshows. Some others use Center for the same purpose though.
White Balance: I set White Balance to Auto when i am shooting stills. When i am recording a video i select the most likely option because it may keep changing while i am recording.
Creative Style: When i am shooting stills i prefer Standard. For videos, i prefer Neutral with some adjustment. See the previous part of this guide.
TIP: If you do not like post processing or color grading select Vivid.
Smile - Face Detection: Usually i have the face detection enabled. But when i am shooting something that moves fast (say sports) i disable it cause it makes the focus system slower.
Soft Skin Effect: Off
Steady shot: When i use a tripod and on OSS lens i disable it. Otherwise ON. For example, if you want to photograph the Milky Way, disable it.
Zebra: Set this to ON (100) if you want to see which parts of the image are overexposed and adjust your settings.
MF Assist: ON
Focus Magnif. Time: No limit. MF assist and Focus Magnif Time are options for manual focusing.
Grid line: Rules of 3ds Grid. It is a very handy feature
Auto review: Set this to Off and review your pictures whenever you choose. Otherwise the camera will show a review of your pictures after every single shot.
Peaking level : Mid
Peaking Color: Red - Peaking level and peaking color are useful for manual focus (videos and stills). If the object that you shoot is red obviously you must pick another color (yellow or white)
Pre - AF: Off because it drains the battery. I prefer to use the back button focus.
Airplane Mode: ON This is a feature you already know from smartphones. I set this to ON so that the Wi Fi will be disabled to save battery.
Monitor Brightness: Sunny weather - Adjusts the brightness of your monitor
Tip: If you mess with settings and you notice poor image quality take a few stills using the superior auto mode. If these pics are crystal clear then reset your camera to the default settings from the menu.
That was the last part of my guide for the Sony A6000. Although the camera is discontinued it is still a good value for money. Sony menus feel bloated at first but if you keep using the camera they wont be a problem. Just keep shooting and you can have some great images even if you use the kit lens.


No comments:
Post a Comment